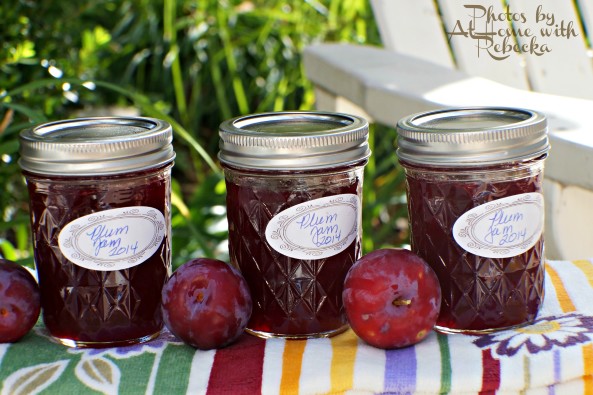
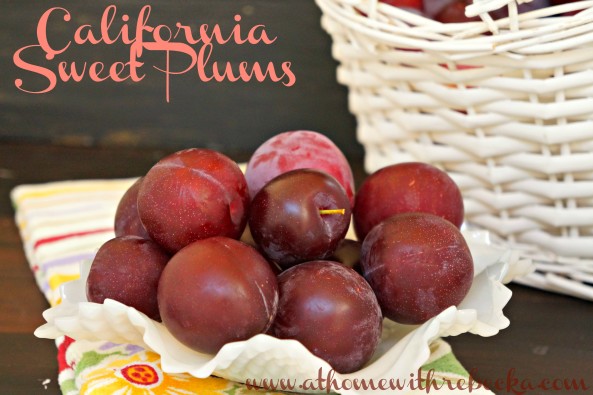
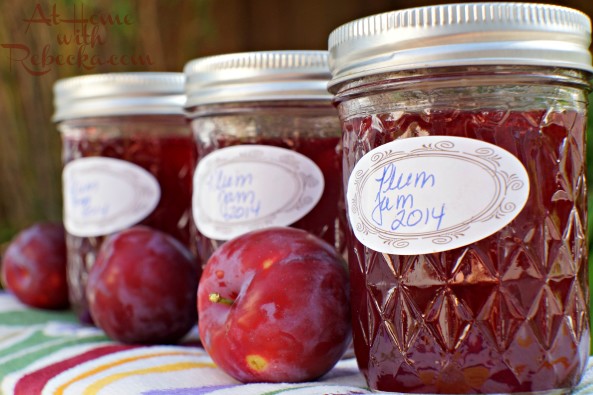
Canning plum jam is easy, fun, and of course, leads to delicious plum recipes! Learning to can fresh plums will give you the opportunity to enjoy them all year long!
 The trick to making and canning exquisite jams and jellies is using quality produce; organically grown and vine ripened to be exact. A difficult task these days, given the drought in California and across the country. Plums have been plentiful at the farmers market and local grocers but high cost of watering has effectively pushed prices upwards of $4.99 a pound.
I paid $6.00 for 2 plums last week. They were delicious, but it was difficult to swallow the cost. Thankfully, I had some luck procuring the plums for canning this batch of plum jam; the only price for the fruit was a bit of embarrassment. My neighbors fruit trees line the open space between the street and their fence, offering up a heap of temptation for my gathering spirit.
With no, "do not trespass or private property" signs visibly displayed, I grew eager to see the fruit made into jam. No pesticides, and so ripe were the plums, they fell to the pavement below by the dozen. I could barely contain myself watching the damaged fruit fall from the tree and scatter about, only to be run over by passing cars or eaten by the neighborhood squirrels and crows.
The urge to start canning plum jam was more than I could bear.
As courtesy dictates, I tried to contact the neighbor before helping myself to the harvest. Unfortunately, they were never home. After about of week of unsuccessful attempts to meet my neighbor, I finally mustered up the courage to gather only the fallen fruit, hoping the property owner wouldn't mind the intrusion. Of course, the moment I began picking broken fruit from beneath the tree, the owner and his daughter came out of the house. Damn, caught in the act! 
Caught up in conversation, Sarah shared her plans to become a doctor and attend school in Denver, CO (my hometown). We discussed canning and food blogging, and my hopes of finding enough rose petals to make rose petal jelly. We became fast friends! Despite the thirty year gap in age, we talked on like we'd been friends for years. I went home with a 5 pound basket of fresh picked plums and made a new friend in the process. The next morning Sarah rang my doorbell, she asked, "Will you teach me how to can plum jam?" My answer was, yes - canning plum jam is so delightful!
What an honor and privilege to teach a young woman how to can fruit, especially such an eager student. Canning plum jam that day was a success, and after her first taste of rose petal jelly, Sarah began gathering the giant English roses from her yard for our next project! We spent several hours canning jams and jellies over the next few weeks. Thank you Sarah, for being such a great student and hanging out with this old cook!
Canning plum jam is something I hope you will enjoy as well! Here are the directions on how to make plum jam.

Plum Jam
Ingredients
- 2 quarts plums about 8 cups or four pounds, pits discarded
- 5 cups granulated sugar
- 1 tablespoon lemon juice
- ½ cups water
- 1 packages liquid pectin
Instructions
- Prepare sterilized jars to manufacture specification, keep water and jars on stove over medium heat.
- Wash plums in cold water
- Remove pits
- Leave skin on
- Cut plums into fourths
- Add plums, lemon juice and water to a large stock pot, cook over medium high heat until boiling
- Strain mixture through a rough sieve to remove skins (optional)
- Return liquid to stock pot, add sugar, stirring constantly, bring back to a rolling boil (a boil that stirring cannot break)
- Add pectin, stirring constantly, bring back to a boil and cook for 1 minute
- Let rest 1 minute and skim foam using a spoon or spatula
- Test jell point: In a medium bowl pour ice cubes then add ice water leaving an inch head space
- Rest a metal measuring cup on the top of the cold water
- Place a tablespoon hot liquid in cold measuring cup, wait about a minute and test the jell, if the jell is to soft, return mixture to the stove and cook additional 1 minute
- Ladle hot liquid into sterilized jars, clean rims with a damp cloth, place lids and rims on jars and place in a hot water bath for 5 minutes. Remove jars from hot water, label, and store in a dry place
Notes


Leave a Reply